
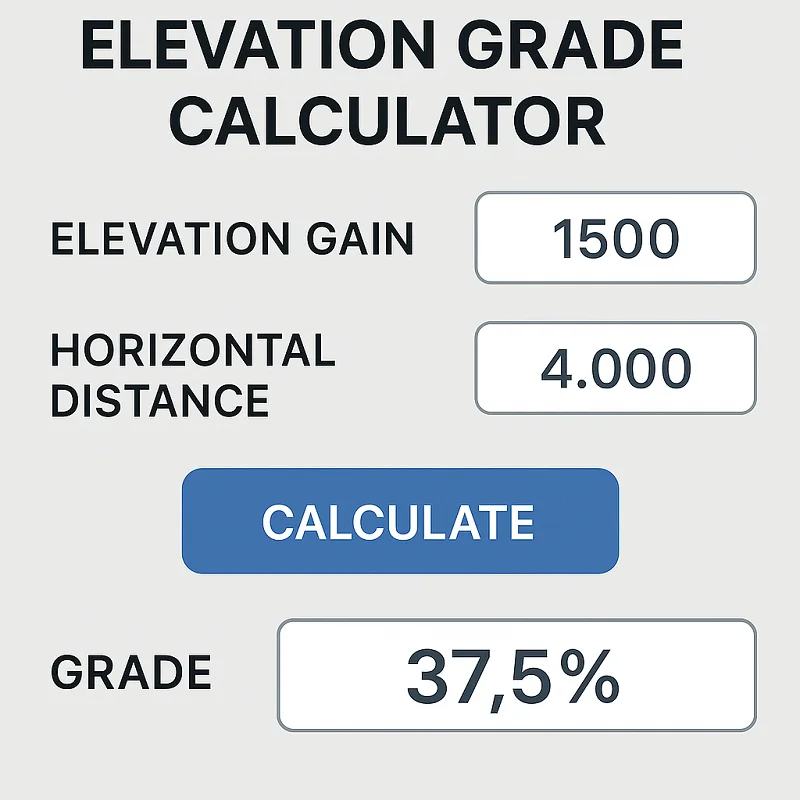
Calculate slope grade percentage for running, cycling, hiking, and engineering projects
Use negative values for elevation loss
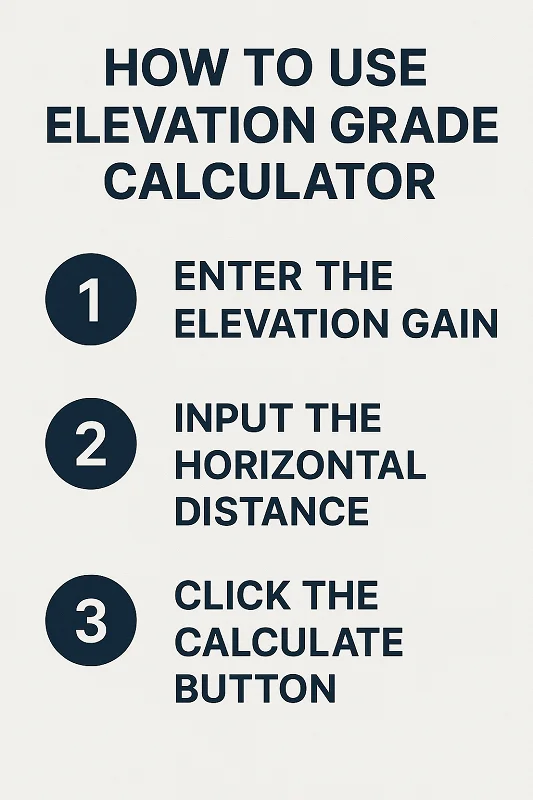
Enter values and calculate to see results
A positive grade indicates an uphill slope, while a negative grade indicates a downhill slope.
Whether you’re planning a construction project, designing a walkway, or mapping out a hiking trail, understanding elevation grade is essential for safe and effective planning. Our elevation grade calculator helps you quickly determine the steepness of any slope by calculating the percentage grade between two points. This comprehensive guide will walk you through everything you need to know about elevation grade, from basic concepts to practical applications.
Elevation grade, also known as slope or gradient, measures how steep an incline is by comparing the vertical rise to the horizontal distance traveled. It’s expressed as a percentage that tells you how much elevation changes over a given horizontal distance.
For example, a 10% grade means that for every 100 feet you travel horizontally, you’ll climb or descend 10 feet vertically. The steeper the slope, the higher the percentage grade.
Think of elevation grade as a way to quantify steepness in a standardized format that’s easy to understand and compare across different projects and locations.
Understanding elevation grade is crucial for several reasons:
Safety and Accessibility: Steep grades can be dangerous for vehicles, pedestrians, and construction equipment. Building codes often specify maximum allowable grades for ramps, driveways, and walkways to ensure accessibility for people with disabilities.
Construction Planning: Engineers and contractors need to know the grade to determine proper drainage, foundation requirements, and material needs. Water flows downhill, so understanding slope helps prevent flooding and erosion issues.
Cost Estimation: Steeper grades typically require more materials, specialized equipment, and labor, directly impacting project costs. Knowing the grade upfront helps create accurate budgets and timelines.
Regulatory Compliance: Many local building codes and regulations specify maximum allowable grades for different types of construction, from residential driveways to commercial parking lots.
Calculating elevation grade is straightforward once you understand the basic formula. Here’s how to do it step by step:
The Elevation Grade Formula
Grade (%) = (Rise ÷ Run) × 100
Where:
Step 1: Measure the vertical distance (rise) between your starting and ending points. This is the difference in elevation.
Step 2: Measure the horizontal distance (run) between the same two points. This is the straight-line distance on a level plane.
Step 3: Divide the rise by the run to get a decimal value.
Step 4: Multiply the result by 100 to convert it to a percentage.
Step 5: Round to the desired number of decimal places for your specific needs.
Important Notes
Let’s work through a practical example to illustrate the calculation process.
Scenario: You’re planning a driveway that starts at street level (elevation 100 feet) and ends at your house (elevation 115 feet). The horizontal distance from the street to your house is 200 feet.
Step 1: Calculate the rise
Step 2: Identify the run
Step 3: Apply the formula
Result: Your driveway has a 7.5% grade, which is considered moderate and suitable for most vehicles.
Construction & Civil Engineering
In construction, elevation grade affects everything from foundation design to drainage systems. Engineers use grade calculations to design proper water runoff, determine excavation requirements, and ensure structural stability. For example, parking lots typically require a minimum 1% grade for drainage but shouldn’t exceed 5% for safety reasons.
Foundation contractors rely on grade calculationshttps://cgpato-percentage.com/grade-calculator/ to determine how much excavation is needed and where retaining walls might be necessary. The grade also influences the type of foundation system required, with steeper slopes often needing specialized solutions like stepped foundations or pier systems.
Landscaping Projects
Landscapers use elevation grade to design effective drainage systems, plan irrigation layouts, and create visually appealing terrain features. A gentle 2-3% grade away from buildings prevents water damage, while steeper grades might require terracing or retaining walls.
Garden designers also consider grade when planning plant placement, as different plants thrive in different drainage conditions. Slopes affect sun exposure, water retention, and soil erosion, all crucial factors in landscape design.
Trail & Hiking Planning
Hikers and trail designers use elevation grade to assess difficulty levels and plan safe routes. Most hiking trails aim for grades between 5-15%, with anything over 20% considered very steep and challenging.
Trail maintenance crews use grade calculations to identify areas prone to erosion and plan appropriate drainage solutions. Understanding grade helps create sustainable trails that minimize environmental impact while providing enjoyable outdoor experiences.
Grade and slope refer to the same concept but are expressed differently. Grade is typically shown as a percentage (like 10%), while slope can be expressed as a ratio (like 1:10) or in degrees. They all describe the steepness of an incline.
This depends on the application. For driveways, anything over 15% is considered steep. For hiking trails, grades over 20% are very challenging. In construction, grades over 10% often require special design considerations.
Yes, negative grades indicate a downward slope. For example, a -5% grade means you're descending 5 feet for every 100 feet of horizontal distance.
Accuracy depends on your project requirements. For rough planning, measurements to the nearest foot are often sufficient. For construction projects, you may need measurements accurate to the nearest inch or even smaller increments.
Basic tools include a measuring tape, level, and stakes. For more precise measurements, consider using a transit, laser level, or GPS device. Many smartphone apps can also provide reasonably accurate elevation readings.
Ready to calculate elevation grade for your project? Our free online elevation grade calculator makes the process quick and accurate. Simply enter your rise and run measurements, and get instant results with detailed explanations.
The calculator handles conversions between different units, provides results in multiple formats (percentage, ratio, and degrees), and includes helpful tips for interpreting your results. Whether you’re a homeowner planning a DIY project or a professional contractor working on complex developments, our tool saves time and ensures accuracy.
Benefits of using our calculator:
Understanding elevation grade is essential for anyone involved in construction, landscaping, or outdoor planning. By mastering the basic formula and calculation process, you can make informed decisions about safety, cost, and design requirements for your projects.
Remember that elevation grade affects not just the immediate construction process, but also long-term factors like drainage, accessibility, and maintenance requirements. When in doubt, especially for major construction projects, consider consulting with a professional engineer or contractor who can provide expert guidance based on local conditions and regulations.
Use our elevation grade calculator to quickly and accurately determine the grade for your next project, and take the guesswork out of slope calculations.
Resources
Professional Resources:
Educational Materials: